
This comprehensive course, AgentLocator Website Editor, is your step-by-step guide to mastering the customization and management of your AgentLocator real estate website. Whether you’re looking to personalize your branding, optimize lead capture, or enhance your content strategy, this course will equip you with the skills to create a powerful online presence.
The course begins with GENERAL INFO & SETTINGS, providing a quick overview of the editor and showing you how to toggle between multiple websites for easy management. You’ll learn essential setup tasks such as how to adjust lead capture settings and how to add an “Opt-In” checkbox to your registration forms. Maintaining accurate contact information is crucial, so we’ll cover how to edit your contact info and how to add/edit social media links. Branding is key, and you’ll learn how to update your logos and how to edit the website pop-up questionnaire to engage visitors. Personalize your site’s look and feel by learning how to change the website colors and how to adjust the website theme. For specific business models, you’ll discover how to adjust cash back settings and how to automatically assign leads for agents that advertise team website/listings. You’ll also gain control over your listings by learning how to disable certain property statuses from appearing on your website and the fundamental skill of how to add pages to your website.
Next, we dive into Overview of Page Builder and Overview of Pages, providing a foundational understanding of website structure. You’ll learn the practical steps of how to add a page or subpage, how to change the order of your pages, and how to hide a page when necessary. Visual appeal is important, and we’ll show you how to change website images and specifically how to edit community listing pages to highlight local areas. You’ll also learn how to strategically create longtail keyword search pages to attract specific buyer intent. For showcasing past successes, we’ll cover how to create a page with sold listings and how to feature exclusive opportunities by learning how to add a page with exclusive listings. Crucial for online visibility, you’ll learn how to add SEO keywords & descriptions to improve search engine rankings. We’ll also clarify the difference between content for registered vs. non-registered leads, allowing you to tailor your messaging effectively. Stay ahead of the market by learning how to add and edit a pre-construction page and provide valuable resources by learning how to add pre-built buyer/seller guides to your website.
Building trust is essential, which is why we dedicate a section to All About Website Testimonials. You’ll get a testimonials overview, learn how to feature testimonials prominently, and understand how to add or approve testimonials submitted by satisfied clients.
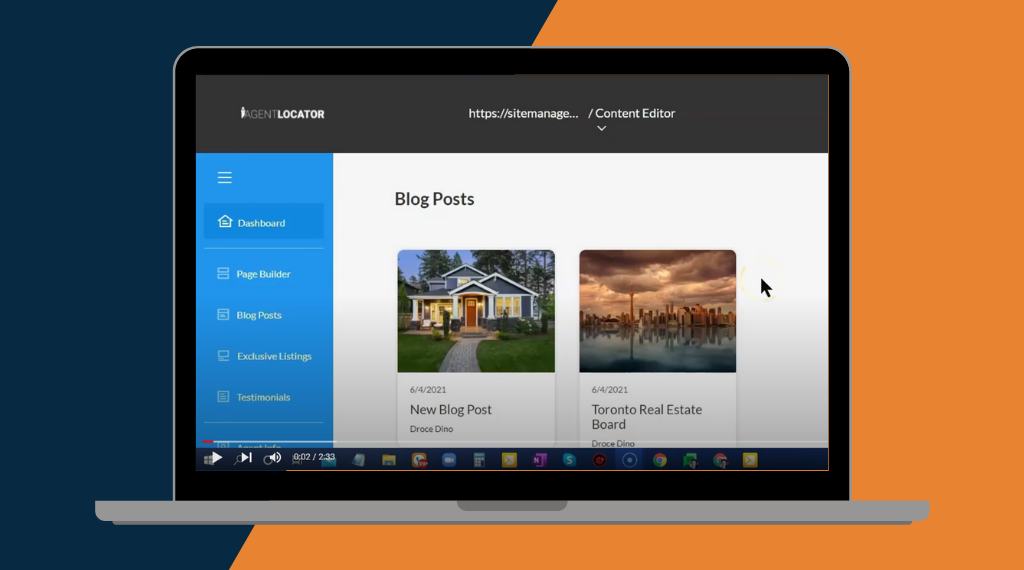
Engage your audience and establish authority through the All About Blogging section. You’ll get a blog section overview (for the builder) and learn the essential skills of how to add blog posts, how to create blog categories for organization, and how to schedule blog posts for consistent content delivery. You’ll also learn the importance of adding SEO keywords to your blog content.
Finally, for those working with new developments, we provide detailed instructions on HOW TO ADD PRE-CONSTRUCTION PAGES AND PRE-CONSTRUCTION LISTINGS, covering how to add pre-construction properties, how to edit a pre-construction listing/property, and how to display pre-construction projects based on location.
By the end of this course, you’ll be proficient in using the AgentLocator Website Editor to create a professional, lead-generating real estate website that effectively showcases your brand, properties, and expertise.